
In the previous post we followed the quickstart guide to get a Static Web App deployed from a template. Here, we pick up where we left off by adding an API to that application.
Static Web App APIs
APIs in static web apps are available in two configurations - managed or bring your own (BYO). If you use the free plan you’re restricted to using the managed API, but upgrading to the standard plan opens up more options for hosting your API. BYO enables the possibility of using API Management, App Service and Container Apps.
A managed API is limited to HTTP triggered functions, but if you bring your own, it’s a regular function app with all the function triggers available to you. There are also other limitations that come with using a managed API, such as fewer supported runtimes, and being limited to a Consumption hosting plan. There are also some other feature limitations that are documented nicely here in API support in Azure Static Web Apps with Azure Functions.
Add an API
Much like in the previous post, Microsoft have done a great job providing a step-by-step guide detailing how to Add an API to Azure Static Web Apps with Azure Functions. As before, there’s no value simply repeating that content, but at a high level, the steps consist of:
- Having already created the static web app, create the function from within VS Code using functionality provided by the Azure Static Web Apps extension.
- Modify the frontend code to make a call to the new API endpoint.
- Test it locally.
- Add the API location to the GitHub actions workflow so that it will get deployed along with the frontend.
- Deploy all of the changes and test it running in Azure.
I won’t go into any depth in any of these steps as the official documentation does that perfectly well. I will just call out the code changes required to the API and the front end.
When the Azure Functions project was created, the function came with some boilerplate code that I replaced with the following:
|
|
The front end code was then modified to call the new API endpoint and display the result on the page:
|
|
Conclusion
If you’ve followed along with the steps in the guide from Microsoft, our app should now show something like this.
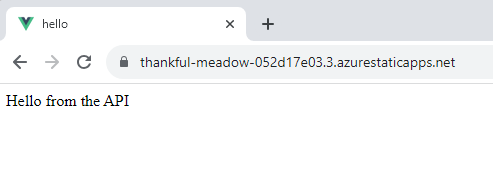
The original “Hello World” text has now been replaced by a response from the API that we’ve just added.
What we’ve got is still incredibly basic, but a good foundation on which we can build something bigger. It’s important to celebrate the little wins. In the next installment we’ll introduce a database and have the API retrieve data from it for display in the frontend.